# 01: Making Development Environment
# Goals of this chapter
Prepare the environment of Github (opens new window) & Netlify (opens new window) and show a web site created by VuePress.
# Fork the template project on the GitHub
Sign on Github (opens new window) if you've never logged in.
This template4vuepress (opens new window) is a VuePress template project that has already been created. Press the Fork button in the upper right to do fork this project to your account. After fork done, a copy is created in your account that you can change freely.
The Fork here is not a tableware with 3-tine, but the pich fork, aguricultual implement with 2-tine to throws a bundle of hay during farming. It seems to mean that it is bifurcated like that. It is a trivia, but in French, the farm equipment is called as "fourche" that means pitch fork, and the tableware is called as "fourchette", means a small fourche.
# Settings of Netlify
Sign on Netlify (opens new window) if you've never logged in. I recommend you to logg in with GitHub account.
# Connect with GitHub account
In case you don't log in with GitHub account, you need to connect your GitHub account to Netlify for sharing GitHub repository to Netlify.
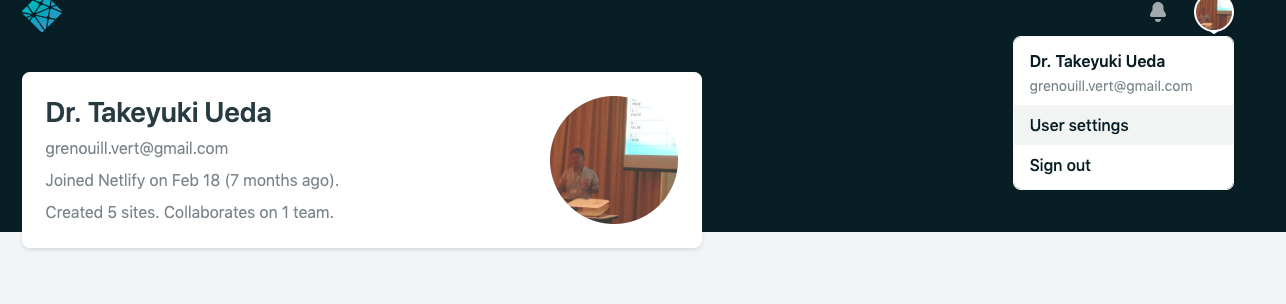
To do this, you should select User Settings on the menu of Netlify.
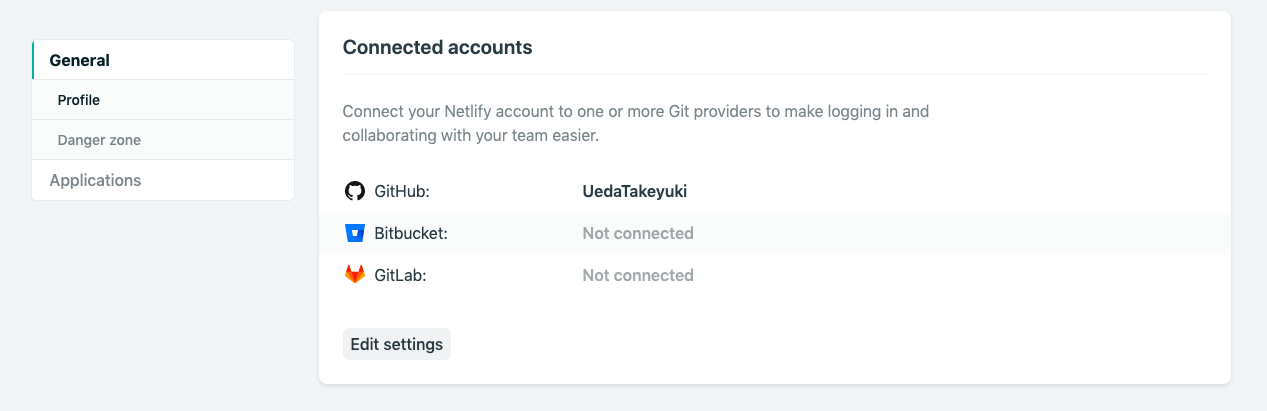
Select GitHub at the Connected account.
# Make Netlify site
Select Sites tab, and select New site from Git.

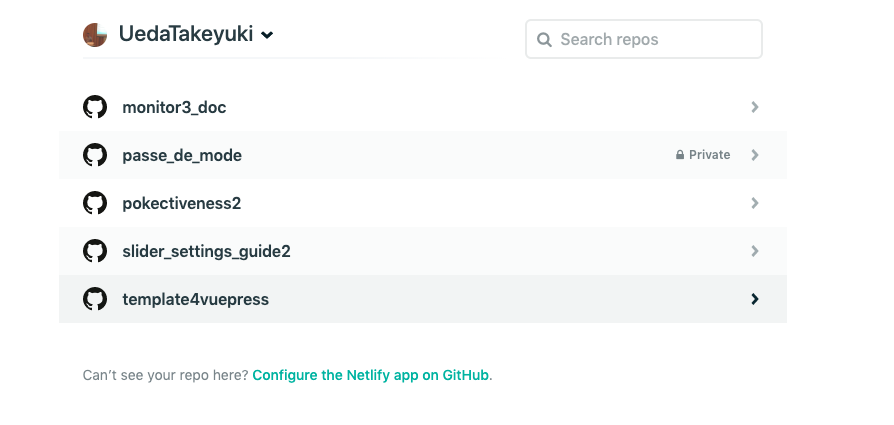
Push GitHub button in the lower left.

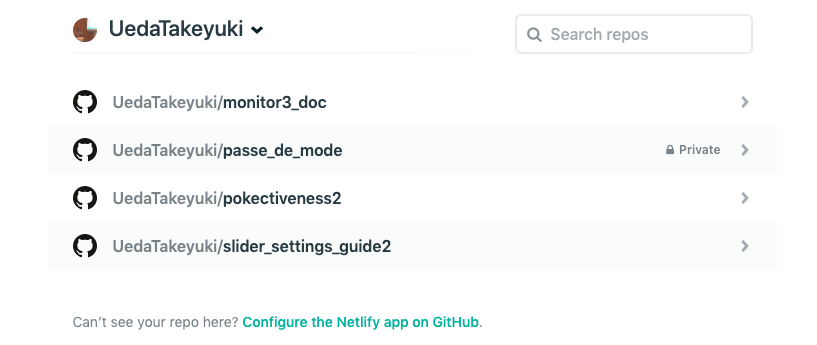
In case the GitHub is set to publish all repositories to Netlify, template4vuepress is displayed here, so select it, but if you can't see it, select below Configure the Netlify app on GitHub link below to configure template4vuppress to publish.
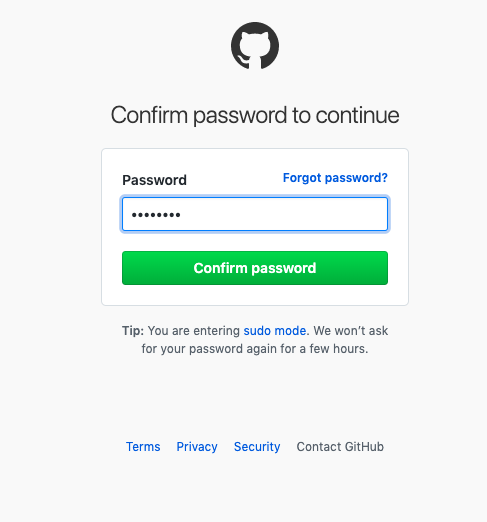
You will be moved to GitHub, so log in.
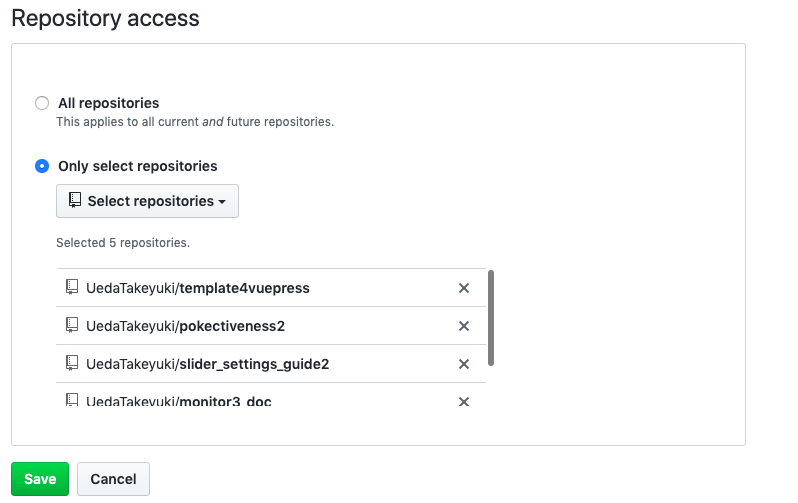
If you select All repository, then all repository get to be selectable from Netlify.
In case you would publish only template4vuepress, slect Only select reporitories.

Open Select repositories, then select template4vuepress.

Make sure templete4vuepress is added, then pushSave.
You will return to Netlify, then select the added template4vuepress.
The build setting screen will appear, so select Deploy site without changing it.
# Deploy with Netlify
# Start Deploy.
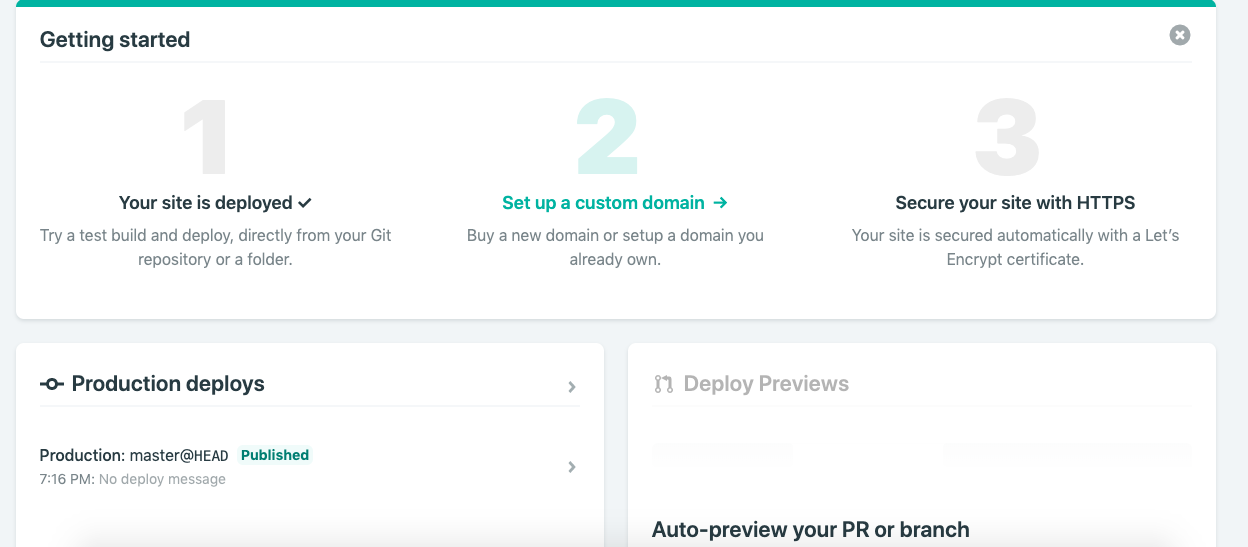
Deploy starts as it is. If you look at Production deploys in the lower left, it will be Enqued in yellow (it may be building), so wait for a while.

When it becomes Published in green, Deploy is complete, so select Published.
# View the completed site
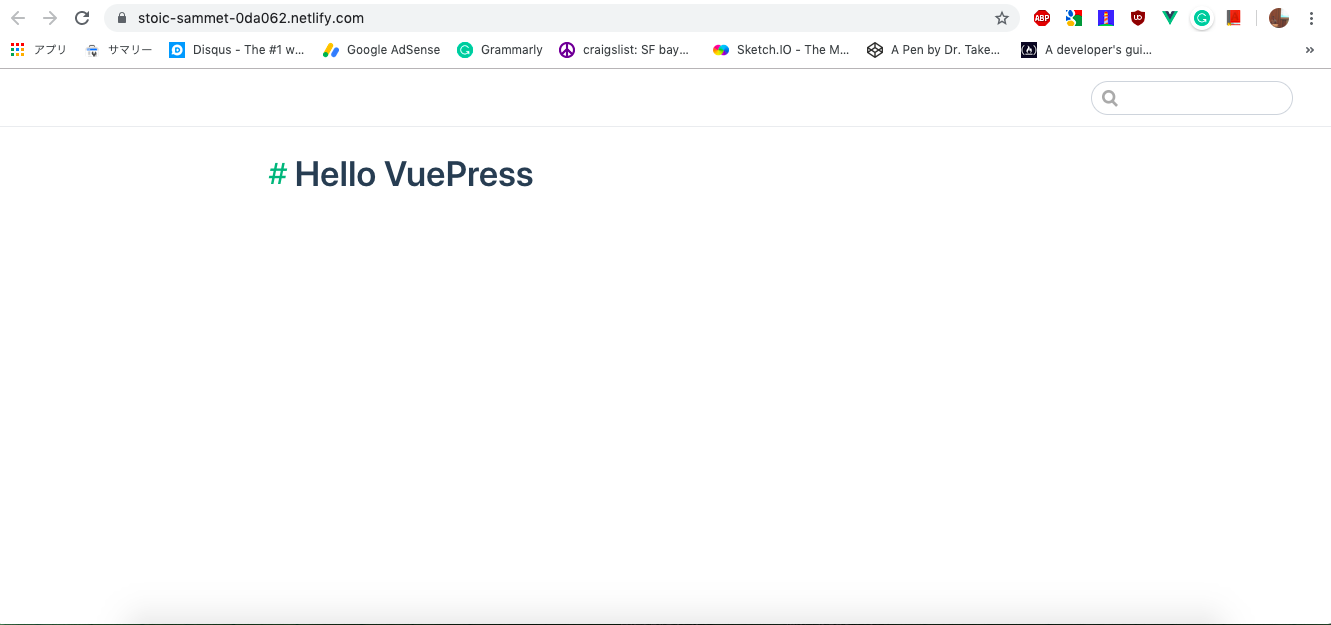
If you select preview deploy in green
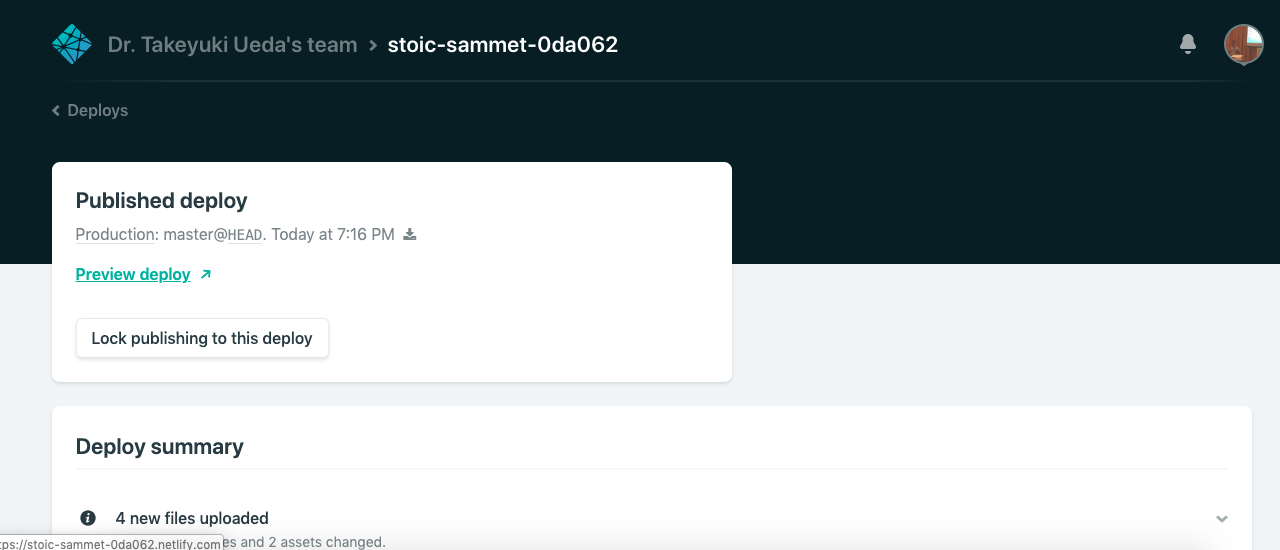
You will be moved to completed site, voilà!
# Supplement
Supplemental information has been prepared for those interested.
# How to make templete4vuepress
The template4vuepress is created as follows:
# make a project folder
mkdir template4vuepress
cd template4vuepress
# init npm
npm init
# install vuepress
npm install -D vuepress
# init git
git init
echo docs/.vuepress/dist/ >> .gitignore
echo node_modules >> .gitignore
# make vuepress environment
mkdir docs
mkdir docs/.vuepress
touch docs/.vuepress/config.js
echo '# Hello VuePress' > docs/README.md
Then open package.json and add the following to scripts
"docs:dev": "vuepress dev docs",
"docs:build": "vuepress build docs",
"docs:eject": "vuepress eject docs"
In addition, the default theme is ejected in "docs/.vuepress/theme"
npm run docs:eject
The theme is planning to add a mermaid later so that a flowchart can be written.
The above steps is our hope if you can use it as a reference when building a local development environment for vuepress yourself.
The vuepress version at the time of creation was 1.0.3
# to be continued
next time is 02: change URL.
last time is 00: Orientation.
← Orientation Vuepress →